
Before I can accomplish Step 1 in my build, I’ll need to enlarge some holes to accommodate larger M4 fasteners. At some point, TAF changed from M3 to M4 size rivnuts for the vertical stabilizer and other empennage sub-assemblies.
The m4 rivnuts have been supplied with the empennage sub-kit, but the formed parts haven’t been revised to accept them. The build instructions have yet to be updated. Correspondence with TAF confirmed that I will need to do hole enlargement. As the builder, it’s up to me to determine how. This involves tracking down proper tools and developing confidence in a process.
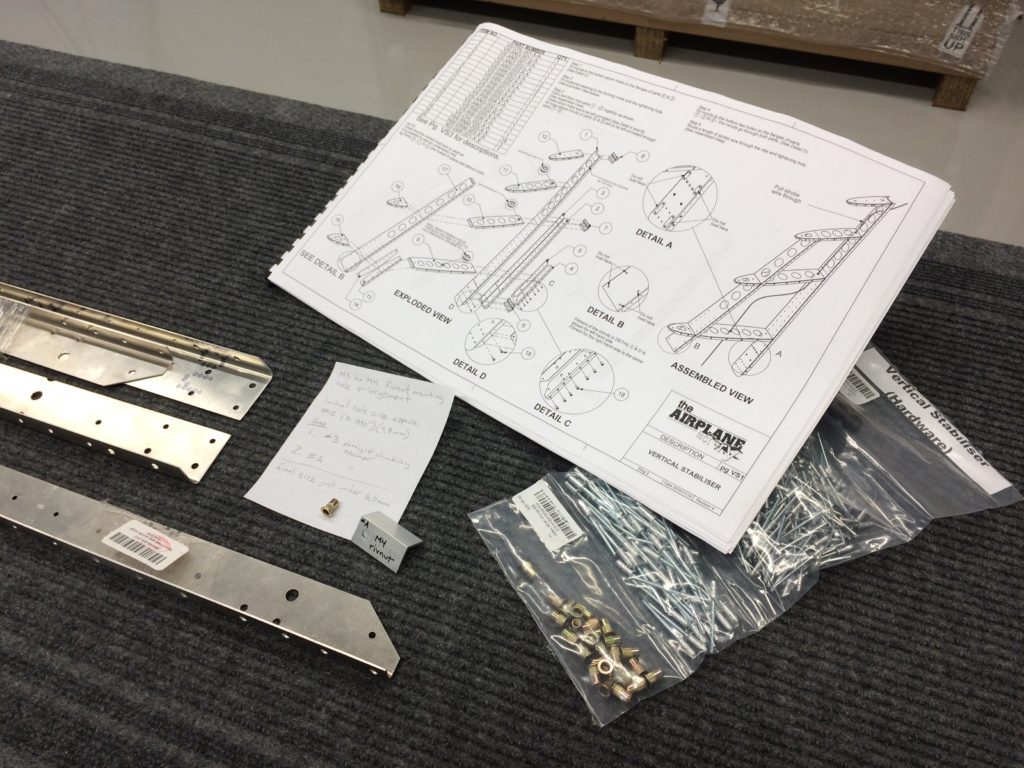
The TAF KAI calls for rivnut mounting holes to be as tight as is practicable and I’ve concluded that a size #A straight flute chucking reamer is the right size to achieve that. This results in the final diameter just under a nominal 6,0mm mounting hole size commonly specified for M4 rivnuts.
I found reaming from #12 to #A size was best done in 2 steps. First, #3 and then #A. This allows the beveled tip of the reamer to align and track nicely with the existing hole as I hold the part by hand and feed the reamer using my drill press at about 750 rpm.
There are also holes for the corresponding screws that will have to be enlarged, once I’ve identified each of them and established what fit clearance is best.
I’ve acquired reamers, developed the process and adequately demonstrated the skills to myself. I haven’t actually started on the build yet, but it feels good to see some aluminum chips in the shop. I’m very close to Build Day 1.