Tag Archives: skills

EAA Workshop – Sheet Metal

There was lots of good information and practical hands-on work at the EAA SportAir Workshops this weekend. The Museum of Flight Restoration Center at Paine Field (Everett, WA) makes for a great venue.

Sling builders were well represented, with 3 active projects and at least a couple prospective Sling TSi-leaning workshop attendees. It was nice to see and chat with fellow builder Philip Rueker, taking part in the Electrical course.

I didn’t quite finish my project, but they gave me a certificate anyway. I’m so glad I chose a Sling 2 kit with pulled rivets. I would be absolutely terrified to undertake a project with solid rivets and needing to conjure sufficient skills to wield a pneumatic rivet driver and bucking bar to achieve 14000-plus decent – let alone perfect – results. OMG!

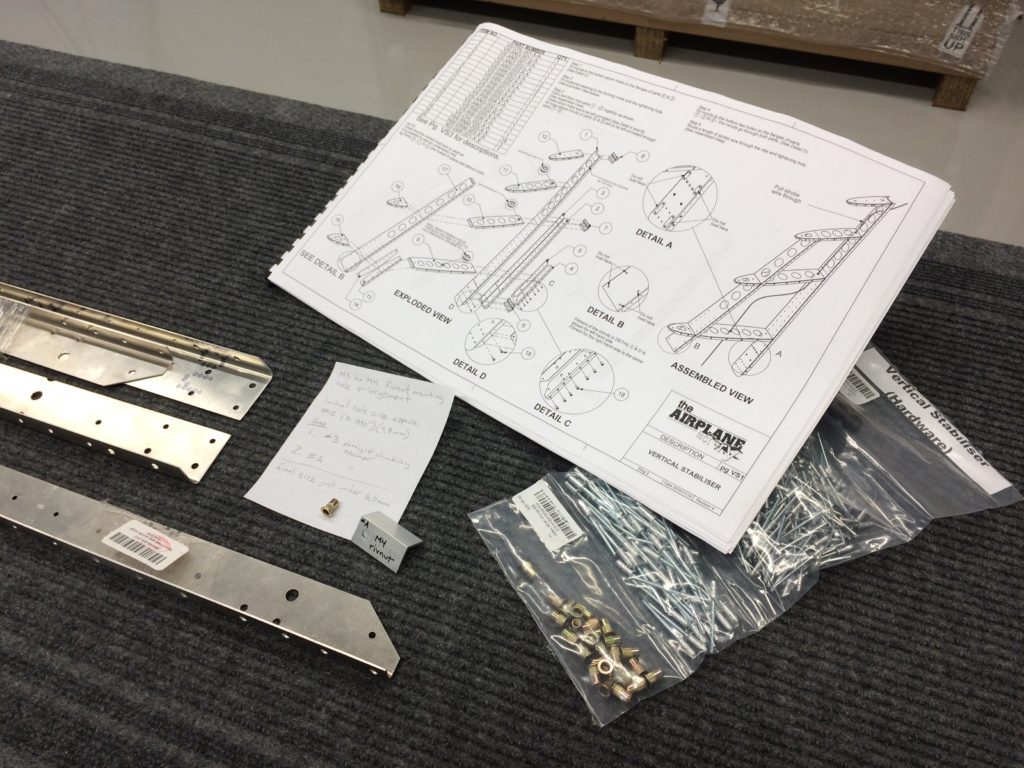
Process for Rivnut Mounting Hole Enlargement

Before I can accomplish Step 1 in my build, I’ll need to enlarge some holes to accommodate larger M4 fasteners. At some point, TAF changed from M3 to M4 size rivnuts for the vertical stabilizer and other empennage sub-assemblies.

The m4 rivnuts have been supplied with the empennage sub-kit, but the formed parts haven’t been revised to accept them. The build instructions have yet to be updated. Correspondence with TAF confirmed that I will need to do hole enlargement. As the builder, it’s up to me to determine how. This involves tracking down proper tools and developing confidence in a process.

The TAF KAI calls for rivnut mounting holes to be as tight as is practicable and I’ve concluded that a size #A straight flute chucking reamer is the right size to achieve that. This results in the final diameter just under a nominal 6,0mm mounting hole size commonly specified for M4 rivnuts.

I found reaming from #12 to #A size was best done in 2 steps. First, #3 and then #A. This allows the beveled tip of the reamer to align and track nicely with the existing hole as I hold the part by hand and feed the reamer using my drill press at about 750 rpm.

There are also holes for the corresponding screws that will have to be enlarged, once I’ve identified each of them and established what fit clearance is best.

I’ve acquired reamers, developed the process and adequately demonstrated the skills to myself. I haven’t actually started on the build yet, but it feels good to see some aluminum chips in the shop. I’m very close to Build Day 1.

Sheet Metal Training – Closing my Knowledge and Skills Gap

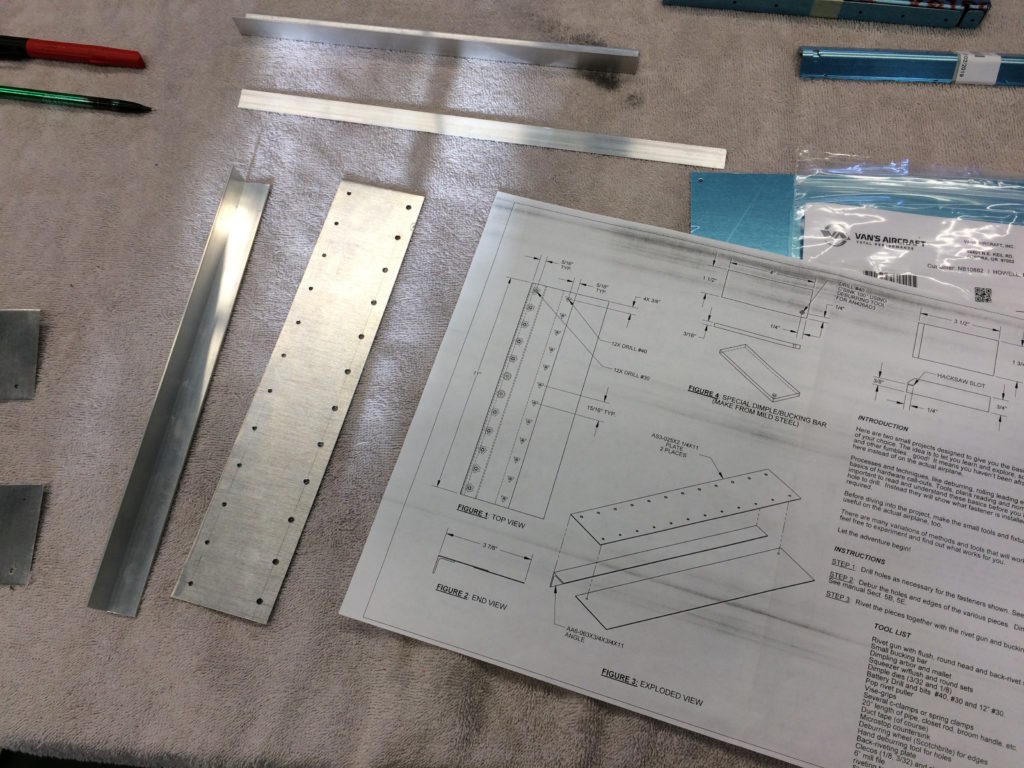
Before I start pulling rivets for real, I’m taking some time to train and practice related skills. There are many useful videos on the Internet. I also found a nice, inexpensive training kit from a homebuilt airplane company in Oregon. I’m signed up for an EAA SportAir sheetmetal workshop – October 26 – 27, at The Museum of Flight Restoration Facility, Paine Field in Washington.

The emphasis of the training resources are centered more on solid rivets and the expectation of somewhat less complete fabrication than what the Sling kits exhibit, but it still seems useful to be introduced to working directly with the metal.

Practice Parts

Before I tackle the training kit – using its materials, I’ve been experimenting with scrap pieces of aluminum sheet and angle, I found at my local Home Depot. It’s a good thing too. I surprised myself as I realized laying out and drilling holes for some short lines of rivets, posed more challenges than I expected. I made real scrap out of my scrap material. I’m learning.