Tag Archives: drilling

Elevator – Counter Balance Skins and Composite Tips

Finishing the elevator was accomplished over a period of about 3 weeks. The composite tips needed repeated sessions of fitting, filling, sanding and priming to achieve a satisfactory appearance. The interface between metal and fiberglass part was dramatically improved from what it would have been, had I left the fiberglass parts untouched.

The fiberglass parts were built up, especially around the leading edge, with Poly-Fiber SuperFil epoxy filler to reduce unsightly gaps. It takes a day for the filler to cure before wet sanding with 400 grit 3M paper, followed by Rust-Oleum wet-sandable automotive (rattle can) primer and the better part of another day for that to dry. Patience is the key

Once I was happy with the fit of the tips, it was time to match drill the parts against the holes in the counter balance skins. That was quickly and easily done by hand with my lithium-powered hand drill and a #30 bit. I’d reviewed numerous discussions about how others attached their tips and decided to simply follow the construction manual, using the ordinary 3,2 x 8 mm domed rivets that were supplied with the kit. Done and done.

The elevator tips took a while to complete, but I didn’t get carried away. All-in-all, the results look rather nice – me thinks.

Process for Rivnut Mounting Hole Enlargement

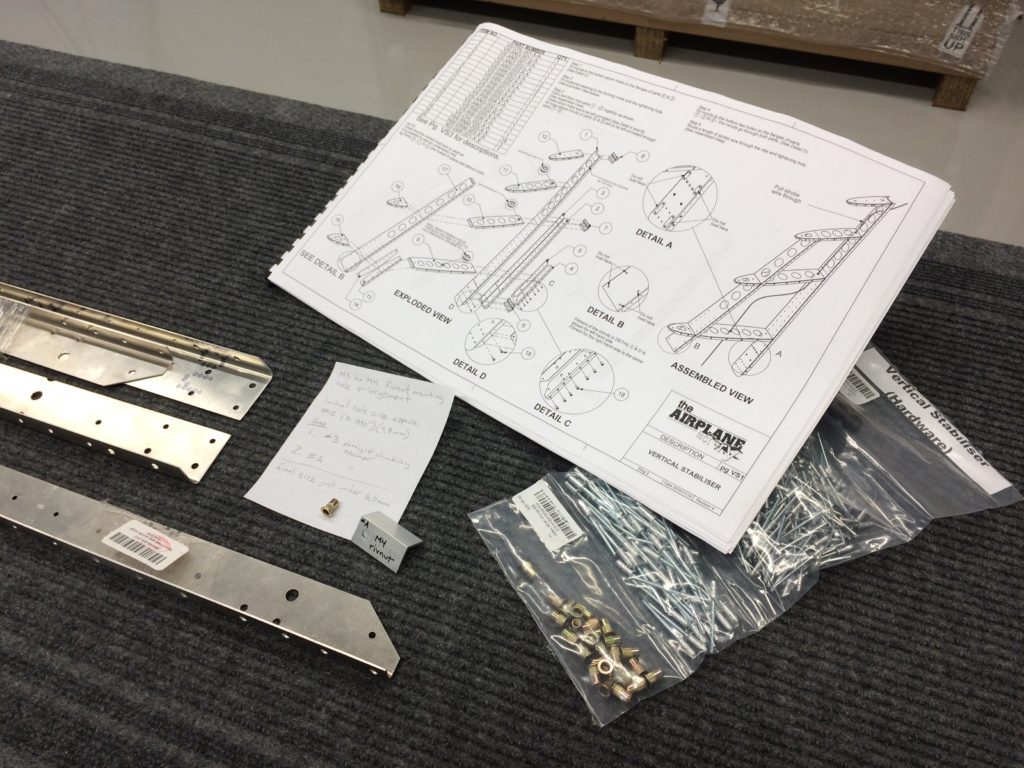
Before I can accomplish Step 1 in my build, I’ll need to enlarge some holes to accommodate larger M4 fasteners. At some point, TAF changed from M3 to M4 size rivnuts for the vertical stabilizer and other empennage sub-assemblies.

The m4 rivnuts have been supplied with the empennage sub-kit, but the formed parts haven’t been revised to accept them. The build instructions have yet to be updated. Correspondence with TAF confirmed that I will need to do hole enlargement. As the builder, it’s up to me to determine how. This involves tracking down proper tools and developing confidence in a process.

The TAF KAI calls for rivnut mounting holes to be as tight as is practicable and I’ve concluded that a size #A straight flute chucking reamer is the right size to achieve that. This results in the final diameter just under a nominal 6,0mm mounting hole size commonly specified for M4 rivnuts.

I found reaming from #12 to #A size was best done in 2 steps. First, #3 and then #A. This allows the beveled tip of the reamer to align and track nicely with the existing hole as I hold the part by hand and feed the reamer using my drill press at about 750 rpm.

There are also holes for the corresponding screws that will have to be enlarged, once I’ve identified each of them and established what fit clearance is best.

I’ve acquired reamers, developed the process and adequately demonstrated the skills to myself. I haven’t actually started on the build yet, but it feels good to see some aluminum chips in the shop. I’m very close to Build Day 1.

Sheet Metal Training – Closing my Knowledge and Skills Gap

Before I start pulling rivets for real, I’m taking some time to train and practice related skills. There are many useful videos on the Internet. I also found a nice, inexpensive training kit from a homebuilt airplane company in Oregon. I’m signed up for an EAA SportAir sheetmetal workshop – October 26 – 27, at The Museum of Flight Restoration Facility, Paine Field in Washington.

The emphasis of the training resources are centered more on solid rivets and the expectation of somewhat less complete fabrication than what the Sling kits exhibit, but it still seems useful to be introduced to working directly with the metal.

Practice Parts

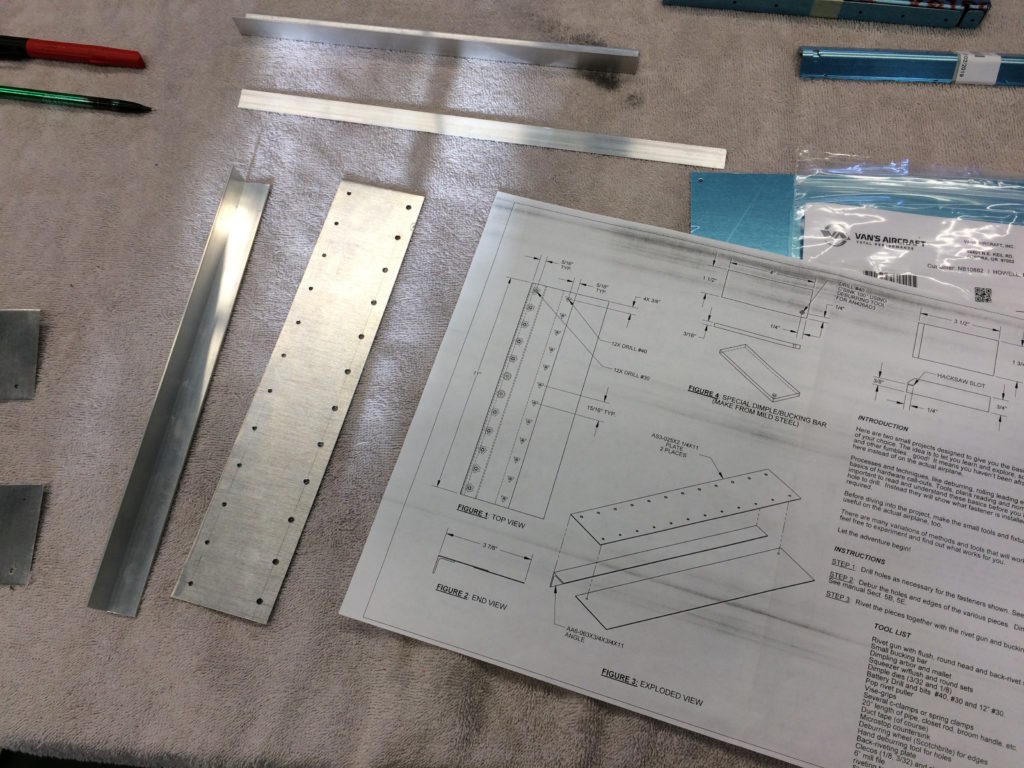
Before I tackle the training kit – using its materials, I’ve been experimenting with scrap pieces of aluminum sheet and angle, I found at my local Home Depot. It’s a good thing too. I surprised myself as I realized laying out and drilling holes for some short lines of rivets, posed more challenges than I expected. I made real scrap out of my scrap material. I’m learning.